In the upcoming months I will travel to visit family and friends. I intend to work remotely during some of those weeks (and will take some other weeks off too). In preparation for this, I’ve set up a new1 ThinkPad T14s Gen 2i laptop that I’ll be using to work remotely.
This article covers the steps that I take when setting up Alpine on this device. It is not intended to cover all possible installation options, but is a reference of my particular setup.
My setup uses btrfs for the main partition, with a subvolume for the root
partition. This allows me to create snapshots of it and roll back to one of
these snapshots if necessary. I intend to build a system which allow atomic
updates on top of this.
A minimal intro to btrfs
Skip this section if you are familiar with btrfs.
Btrfs supports subvolume. A subvolume is created for a directory inside a btrfs partition, and that subvolume can then be mounted as if it were a filesystem of its own.
If a partition contains a directory media/videos, and one creates a subvolume
for that path, it is them possible to mount that media/videos directory into
any location without the need to mount the rest of the filesystem. Subvolumes
can somewhat be though of as sub-partitions, where the pool of free space is
shared amongst all of them.
Btrfs also supports copy-on-write, which allows creating a copy of a file or
directory without actually copying the data on disk. When /home/hugo/orig is
copied to /home/hugo/dest, the filesystem will only mark the latter is a copy
of the former. If later modifications are made to one of these, then the
filesystem will write the modified version into a new location, taking care to
leave the original file unchanged.
These two features combined are what allows implementing snapshots: a copy of a subvolume at a given time. The subvolume can be further modified, but the snapshot keeps an unchanged copy of the data.
Booting into the installer
Download Alpine’s installation image. Copy in into the USB drive as explained in the wiki. E.g.:
doas dd if=alpine-extended-3.18.4-x86_64.iso of=/dev/sdX bs=512
Plug the USB drive into the laptop, turn on the device and immediately start tapping F12 (about once per second until the laptop plays a short beep) to enter the boot menu. Select the USB drive.
Once Alpine boots, log in as root (there is no password in the installation
media).
Preparing the disk
Use fdisk -l to inspect local disks. The internal drive is /dev/nvme0n1.
The setup-alpine command will do fine for most of the setup, but partitions
and bootloader will be configured manually, since the intended setup diverges
from what the setup scripts support.
setup-alpine will prompt for a few things:
- Keyboard:
us. - Keyboard variation:
us-altgr-intl. - Hostname:
device-name.whynothugo.nl. - Network adapter:
wlan0. - Wifi network.
- Wifi password. Care must be taken to avoid typos here; apparently if this is typed wrong the network ends up in a broken state and doesn’t outright fail.
- IP address:
dhcp. - Networks:
done. - Manual network configuration:
n. - The default DNS is the one provided by the local router. This is fine for now.
rootpassword: empty; this account will be locked later in this process.- Time zone:
Europe/Amsterdam. - User account:
hugo. This user will be a member of thewheelgroup, and has (by default) privileges to usedoas. - The defaults are fine for all remaining steps.
Next, partition the disk manually (to create the btrfs subvolume for the root and home partitions).
Also of note: the default swap partition created by the installer is way too small and might not work when suspending to disk. When the system is suspended-to-disk, it copies the contents of the RAM into the swap partition, so the swap should be at least as large as the amount of RAM available. The swap partition also needs to be encrypted, which the installation script do not support.
Use cfdisk to partition the disk and create three partitions:
- A 600M EFI System Partition (ESP).
- A swap equal to physical memory size.
- A main partition with all remaining space.
Next, format the partitions:
apk add btrfs-progs cryptsetup
modprobe btrfs

mkfs.vfat /dev/nvme0n1p1
# Create encrypted partitions for swap and main partition.
# Hint: use the same passphrase for both so that they can be unlocked in unison.
cryptsetup luksFormat --label luks-swap /dev/nvme0n1p2
cryptsetup luksFormat --label luks-main /dev/nvme0n1p3
# Unlock the newly created partitions:
cryptsetup open /dev/nvme0n1p2 swap
cryptsetup open /dev/nvme0n1p3 main
# Format the inner layer of the encrypted partitions:
mkfs.btrfs --label main /dev/mapper/main
mkswap /dev/mapper/swap
Temporarily mount the btrfs partition:
mount /dev/mapper/root /mnt/
Create two subvolumes inside of it:
# This implicitly creates the directories too.
btrfs subvolume create /mnt/root
btrfs subvolume create /mnt/home
And unmount the partition:
umount /mnt
Now mount the subvolume that will be used as the root partition. subvol=root
here refers to the name of the subvolume created above (it is the directory
path relative to the root of the partition).
mount /dev/mapper/fs -o subvol=root /mnt/
Then mount the ESP and the home subvolume inside of the above:
mkdir /mnt/home /mnt/efi
mount /dev/nvmen1p1 /mnt/efi
mount /dev/mapper/fs -o subvol=home /mnt/home
Finally, set up Alpine into the mounted partitions. This will also generates
/mnt/etc/fstab.
setup-disk /mnt
Switching into the installation filesystem
chroot into the new installation. Also mount /proc and /dev inside the
new root:
chroot /mnt
mount -t proc proc /proc
mount -t devtmpfs dev /dev
Enable the community and testing repositories, and switch to the Alpine Edge
branch. This is done by editing /etc/apk/repositories and replacing its
contents with:
http://dl-cdn.alpinelinux.org/alpine/edge/main
http://dl-cdn.alpinelinux.org/alpine/edge/community
http://dl-cdn.alpinelinux.org/alpine/edge/testing
Some regions may have networking issues reaching the global CDN mirror. If this is the case, a local mirror should be used instead.
Setting up the bootloader
When the firmware is done initialising, it will load a bootloader: a program responsible for loading the actual operating system itself. I will be using a UEFI bundle (nowadays also known as a UKI) to boot the system. This is a executable binary which bundles the following:
- The kernel itself
- The kernel’s command line parameters
- A small stub that execute the kernels with that command line
- The initramfs (a small read-only filesystem with the necessary userspace utilities to boot into the main system).
There are additional notes on this setup in the Alpine Wiki.
The stub itself is provided by the gummiboot package. It is considered
deprecated, but no solid alternative is available (I do have one in progress,
but still has some rough edges). The bundle itself is built by efi-mkuki, and
secureboot-hook will rebuild the bundle after each kernel upgrade.
Install the mentioned packages:
apk add efi-mkuki secureboot-hook gummiboot
I use the linux-edge kernel:
apk add linux-edge
apk del linux-lts
Install blkid which will be used in a moment. This tool prints the uuid (and
a few other details) for a specified partition. This is the recommended way to
address a partition ambiguously:
apk add blkid
Edit /etc/kernel-hooks.d/secureboot.conf with the following. See below for
how to determine the exact value for these UUIDs. secureboot.conf should look
something like this:
cmdline="root=UUID=5021db58-cc3a-4829-a630-2d468f8d1761 ro rootflags=subvol=root cryptroot=UUID=0db973a0-1b95-4a23-a63f-cb6248fe2bf7 cryptdm=crypt modules=sd-mod,btrfs,nvme quiet rootfstype=btrfs hostname=destiny.whynothugo.nl"
signing_disabled=yes
output_dir="/efi/EFI/Boot"
output_name="bootx64.efi"
Signing is disabled only temporarily until I install the proper keys.
The output path for the above is /efi/EFI/Boot/bootx64.efi, which is the
default path where UEFI firmware looks for a bootloader.
Note: While it is possible to configure additional paths for the firmware to run executables, support for this varies, and configuration data is often lost after firmware updates, so I prefer to avoid the approach. Note that this particular setup is incompatible with booting multiple operating systems on the same host.
- The
rootUUID can be determined with:
# Append this data at the end of the file; this prevents having to copy it
# manually. Edit the file, cut out the UUID and delete the rest of the line
# appended by `blkid`
blkid /dev/mapper/main nvme0n1p3 >> /etc/kernel-hooks.d/secureboot.conf
- The
cryptrootUUID can be determined with:
# Same as above:
blkid /dev/nvme0n1p3 >> /etc/kernel-hooks.d/secureboot.conf
hostnameis optional, but specifying it here ensures that the hostname is set at the earliest moment possible.
During boot, the bootloader will hand over control to the kernel. At this
stage, the only filesystem is the initramfs. The kernel needs the cryptsetup
user-space utilities in order to mount the encrypted root partition, so they
must be included in the initramfs.
Edit /etc/mkinitfs/mkinitfs.conf and add crypsetup to the features
variable. While editing this line, it is also safe to delete virtio, which is
used only in virtual machines. Also add kms to enable kernel mode
setting.
Also disable the mkinitfs trigger. This trigger builds the initramfs into a
standalone file, but that won’t be used for this setup; the initramfs is
included in the UEFI bundle:
The resulting file should look something like this:
features="ata base cdrom btrfs keymap kms mmc nvme raid scsi usb cryptsetup cryptkey resume"
disable_trigger=yes
Remove GRUB. The generated configuration is broken for the current setup, so it won’t work as-is and will get in the way.
apk del grub-efi grub
Finally, trigger the newly created kernel hook so that all the right files are
copied into /efi:
apk fix kernel-hooks
Setting zsh as the default shell
My shell of choice is zsh. It is ideal for interactive usage, having great
support for auto-completion and a few other interactive features.
Install zsh and set it as the default shell for my user:
apk add zsh
vi /etc/passwd # locate user 'hugo' and replace `/bin/ash` with `/bin/zsh`.
Rebooting into the installed OS
Unplug the installation media to prevent booting from it again and then reboot:
exit # leave the chroot
reboot
Installing packages
Alpine keeps a list of “wanted” packages in /etc/apk/world (see: In praise
of Alpine and apk). I trimmed the list from my previous system
with what I’ll be wanting initially on this laptop.
The resulting world file is available here.
This is a pretty large amount of packages. It includes everything that I’ll need on a daily use workstation and a few extras.
The world file generated during installation contained some firmware packages
that should be kept around:
linux-firmware-i915
linux-firmware-intel
linux-firmware-mediatek
linux-firmware-other
linux-firmware-rtl_bt
Rather than overwrite the world file, concatenate both, removing duplicates:
cat world-2023-10-25 /etc/apk/world | sort | uniq > new_world
mv new_world /etc/apk/world
And then upgrade all packages:
apk update
apk upgrade -a
If anything fails, apk can be instructed to fix the system (using
/etc/apk/world as a reference) using:
apk fix
Configuring the user session
The system is in a working state at this point, but $HOME is completely
empty, and logging in just provides a bare zsh shell.
I keep all my configuration files in my dotfiles repository. Clone that first:
git clone https://git.sr.ht/~whynothugo/dotfiles .dotfiles
cd .dotfiles
git submodule update --init # Pull git submodules. Mostly, neovim plugins.
My git configuration is set to rebase when pulling from a remote. This will affect any local repository created from this point forward, but not this one because it was created before git’s configuration was in-place. This needs to be configured manually for this single repository:
git config pull.rebase true
The helper that symlinks dotfiles into their “real” location is in the same
repository. It can be built and executed with cargo:
cargo run
After logging out and logging in again sway fails to start and the session ends immediately. Switch to another tty (sway only auto-starts on tty1) with Ctrl+Alt+F2 to fix this.
The reason that sway won’t start just yet is that it requires seatd in order
to access input/output interfaces. Enable this service and start it now:
doas rc-update add seatd default
doas service seatd start
In order to connect to seatd, my user account needs to be a member of the
seat group. This is a moment to add the user account to a few other groups
too:
doas adduser hugo seat # For seatd
doas adduser hugo audio # For audio hardware.
doas adduser hugo dialout # For serial consoles.
doas adduser hugo kvm # For hardware virtualisation capabilities.
doas adduser hugo qemu # Ditto
doas adduser hugo gnupg # Smart-cards.
doas adduser hugo power # For powerctl (power management tool).
doas adduser hugo video # For video devices. See below.
The video group is required to access video input devices like cameras.
Unfortunately, it also grants access to video output/rendering hardware, which
is not required and a security liability. I reported this to both
Alpine and eudev. I’ll deal with it in greater
detail later.
As indicated in the Alpine wiki, sway also requires udev to be
set up:
setup-devd udev
After logging out and back in again (still on tty2), running sway works. The
font size rather small, but the scale can be adjusted with:
swaymsg output '*' scale 1.5
The actual name of this output can be determined with:
swaymsg -t get_outputs
swaymsg -t get_inputs # Prints input devices; used to locate the keyboard id.
Also add a line to my sway configuration file (~/.config/sway/config) so that
this scale is applied again on subsequent runs:
output "IVO 0x057D Unknown" {
  scale 1.5
}
Configure the keyboard to map the CapsLock to Esc. Here is the relevant commit.
I use a work-in-progress helper to manage my user services. It’s called usvc
and uses s6-rc under the hood. Before its first run, the services database
needs to be compiled at least once:
usvc compile
Usually it is auto-started via sway, but failed to start when sway started because its database was not compiled yet. It can easily be started manually:
usvc run
Initialising the secret store
Running usvc run shows an error for himitsud; it fails to start due to
being uninitialised. It can be initialised with:
himitsu-store -i
Start himitsud again (this service won’t auto-restart if the database is
missing, otherwise it would thrash CPU pointlessly):
usvc start himitsud
Setting up abuild
I’ll eventually want to build Alpine packages locally, which requires
setting up an abuild environment. This is already well-documented in the
Alpine wiki, and is basically just:
doas adduser hugo abuild
abuild-keygen -a -i
Fixing audio
This sound doesn’t seem to be working. Running pavucontrol shows no input or
output devices. Checking dmesg seems to indicate missing firmware:
> dmesg | grep firmw
[    1.096997] i915 0000:00:02.0: [drm] Finished loading DMC firmware i915/tgl_dmc_ver2_12.bin (v2.12)
[   36.239398] iwlwifi 0000:00:14.3: loaded firmware version 77.2df8986f.0 QuZ-a0-hr-b0-77.ucode op_mode iwlmvm
[   36.363387] Bluetooth: hci0: Minimum firmware build 1 week 10 2014
[   36.365863] Bluetooth: hci0: Found device firmware: intel/ibt-19-0-4.sfi
[   36.447917] sof-audio-pci-intel-tgl 0000:00:1f.3: Direct firmware load for intel/sof/sof-tgl.ri failed with error -2
[   36.447919] sof-audio-pci-intel-tgl 0000:00:1f.3: error: sof firmware file is missing, you might need to
[   36.447921] sof-audio-pci-intel-tgl 0000:00:1f.3: error: failed to load DSP firmware -2
[   36.714932] psmouse serio1: trackpoint: Elan TrackPoint firmware: 0xa1, buttons: 3/3
[   38.519487] Bluetooth: hci0: Waiting for firmware download to complete
Filtering Alpine package to those containing a file called sof-tgl.ri
indicates that the package sof-firmware contains this file.
I’m not familiar with the organisation that maintains this package upstream, but some quick searching online indicates that they’re part of the ALSA project and under the umbrella of the Linux Foundation, so I guess that installing this package should be safe.
There’s likely some way to force reloading of this firmware, but rebooting is easy enough.
Setting up DHCP
During reboot I noticed that the networking service blocks the start-up
process from continuing until the dhcp client has resolved an IP address.
This is annoying and unnecessary2. This behaviour can be disabled by removing
the line iface wlan0 inet dhcp from /etc/network/interfaces.
And then run the dhcp by itself.
doas rc-update add dhcpcd default
When run like this, the DHCP client run for any network interface that is connected and has signal, but will do so in the background without blocking the boot process.
Configuring iwctl for wireless network management
I use iwd to manage wireless networks. It conflicts with wpa_supplicant, so
disable the latter and enable the former:
doas rc-update del wpa_supplicant boot
doas rc-update add iwd default
doas service wpa_supplicant stop
doas service iwd start
iwctl can be used to control iwd. Basic iwctl usage (via interactive
mode):
help
station list
station wlan0 scan
station wlan0 get-networks
station wlan0 connect MyNetwork
# password prompt here
After running get-networks, iwctl will often starts flashing, due to how
it keeps refreshing the list (this is likely a fixable bug).
iwctl is also usable as a command line interface. Running the following
commands in a regular shell is equivalent to the above:
iwctl station wlan0 scan
iwctl station wlan0 get-networks
iwctl station wlan0 connect MyNetwork
# iwctl prompts for password
On a separate terminal run ip a to confirm that network is connected (check
for an IP address in the local network) and net to check that the Internet
is reachable.
I would prefer a simpler interface which just shows a list of wifi networks. Such a list would allow me to pick a network with the arrow keys (or maybe just click on it or type-to-fuzzy-filter). I know of no such tool. Most UIs are either entangled into entire Desktop Environments (and not usable elsewhere), or are less convenient to use.
Configuring the firewall and sshd
nftables blocks all incoming connections by default.
doas rc-update add nftables boot
The following rule allows incoming connections on sshd’s default port, port
22. It should be installed into /etc/nftables.d/sshd.nft:
table inet filter {
	chain input {
		tcp dport ssh accept comment "Allow sshd"
	}
}
And restart nftables via:
doas service nftables restart
On another host, run nmap to confirm that all ports are filtered.:
> doas nmap -sS -T4 192.168.21.151
doas (hugo@hyperion.whynothugo.nl) password:
Starting Nmap 7.94 ( https://nmap.org ) at 2023-10-25 20:28 CEST
Nmap scan report for destiny.lan (192.168.21.151)
Host is up (0.100s latency).
Not shown: 998 filtered tcp ports (no-response), 1 filtered tcp ports (port-unreach)
PORT   STATE SERVICE
22/tcp open  ssh
MAC Address: 28:11:A8:1A:96:22 (Intel Corporate)

Nmap done: 1 IP address (1 host up) scanned in 16.32 seconds
When doing this, I also re-ran this test while running python -m http.server
on the laptop. This command exposes an HTTP server on port 8000. The result
was, as expected, the same.
Next, I want to copy a public ssh key from another host. The local IP of the
new device can be determined with ip a | grep inet3. For this example,
I’ll use 192.168.1.5 as an IP. On the other host, run:
cd ~/.ssh/keys/
ssh-keygen -t ed25519-sk -f hugo@destiny.whynothugo.nl
ssh-copy-id -i destiny.whynothugo.nl.pub hugo@192.168.1.5
# Hint: use ssh localhost on the new device to see the fingerprint; they should be the same.
I came across this weird bug in ssh-copy-id. Apparently it is
harmless. Trying to connect via SSH into the new device should now work:
ssh -i ~/.ssh/keys/destiny.whynothugo.nl hugo@192.168.1.5
Next, back onto the new device, I edit sshd’s configuration file with doas vi /etc/ssh/sshd_config to disable logging in via password only:
 # To disable tunneled clear text passwords, change to no here!
-#PasswordAuthentication yes
+PasswordAuthentication no
Finally, restart sshd:
doas service sshd restart
Locking the root user account
Logging in as root is discouraged. The account can be locked with:
doas passwd -l root
Connecting to IRC
Running senpai and it fails with an authentication error:
Connecting to chat.sr.ht...
Error (code 904): Registration failed: Authentication failed
Error (code ACCOUNT_REQUIRED): Authentication required
Error (code UNKNOWN_COMMAND): LISTNETWORKS Unknown subcommand
My IRC credentials are missing on this host, but I’d expect senpai to warn
about this rather than trying to connect with an empty password and fail. The
fix for this issue is rather simple.
Configuring credentials for senpai is something that I’ve already
covered and won’t repeat here.
Pushing dotfiles changes
I will want to push local changes to the dotfiles repository. For this, an SSH key needs to be copied from another host. As an alternative, a new SSH key could be created an registered on the remote server.
The remote used by git for the dotfiles repository is a read-only URL. A read-write URL should be configured for pushing:
cd .dotfiles
git remote set-url origin --push git@git.sr.ht:~whynothugo/dotfiles
Hint: only change the url used for pushing, so that interacting with the SSH key is not required when pulling changes.
At this point, trying to push changes won’t work because ssh cannot access the
yubikey (my SSH key is hardware-backed). In order for this to work, my user
needs to be a member of the plugdev group:
doas adduser hugo plugdev
Note that the libfido2 also needs to be installed. It provides the udev
rules that allow members of the plugdev group to access these hardware
security keys. It was included in the bulk installation of packages above.
Using an U2F security key
Trying to log into a website which requires two-factory authentication via a
hardware security key requires that I am member of the plugdev group, which
was done above.
Using my totp helper
I use a helper called totp to generate one-time authentication tokens on my
yubikey. It does not require me to be a member of the plugdev group to
operate, but it does require the “middleware to access smart cards” to be
running. It can be enabled and started via:
doas rc-update add pcscd default
doas service pcscd start
Configuring the power button and laptop lid
Pressing the power button seems to do nothing. After some quick research and asking around, and it turns out that this particular power button needs to be held for two seconds before it registers a key press. Apparently this is a hardware quirk.
By default, when the power button is pressed, acpid will execute (as root)
the script at /etc/acpi/PWRF/00000080. This is a pretty bad approach for an
interactive system4, since I would need to somehow signal to the
current user session that this happened. Or maybe multiple sessions? Which one?
It’s easier for this to be handled as a key press event by whomever is assigned
the seat right now.
The easiest way to disable this behaviour is to replace the entire script with a blank file. Deleting it might result in it being recreated on package update / reinstall.
doas truncate -s 0 /etc/acpi/PWRF/00000080
Reload the service with doas service acpid restart. Now when pressing the
power button, sway will receive a key press events for the XF86PowerOff
button. I already have a binding that triggers my sleep-and-lock script, so
nothing extra needs to be done here.
Next, configure sway to turn off the display when the lid is closed. It does not put the system to sleep; I prefer to explicitly put the system to sleep with the power button, since I sometimes want to close the lid but keep programs running.
bindswitch --reload lid:on output eDP-1 disable
bindswitch --reload lid:off output eDP-1 enable
In future, I would like to auto-sleep the system when the lid is closed, but I
would first need some mechanism that allows me to quickly inhibit auto-sleep
before closing the lid. Perhaps caffeine-ng can somehow fit this use case.
Enabling bluetooth
The only thing that needs to be done is to enable the system service:
doas rc-update add bluetooth default
Running ansible
Settings for a few desktop applications are handled via ansible, and the
relevant files are also in my dotfiles repository:
cd $HOME/.dotfiles/ansible
ansible-playbook main.yaml -v
Configuring automatic login
At this stage, when turning on the laptop it will first prompt for the disk encryption password and seconds later for the local user’s password. A password at this point is unnecessary, a bit annoying, and doesn’t add any security.
Additionally, when I instruct the system to shut down, the compositor will exit
and a login prompt will briefly show up while shutdown finishes. This login
prompt is getty, which init restarts automatically when a session ends,
even if the system is shutting down.
I will configure greetd to log me in automatically at start-up. I will run it
as an OpenRC service, so that it doesn’t get restarted when the system is
shutting down.
Note that I’ve already installed greetd and greetd-agreety when defining
packages in /etc/apk/world above.
First, I disabled running getty on tty1 by commenting out the relevant line
in /etc/inittab. The original line looks something like this:
tty1::respawn:/sbin/getty 38400 tty1
The following script runs greetd on tty1 with its dedicated configuration
file. I saved it to /etc/init.d/greetd.tty1:
#!/sbin/openrc-run

name="greetd"
description="Greeter daemon"

supervisor=supervise-daemon
cfgfile="/etc/greetd/tty1.toml"

command=/usr/sbin/greetd
command_args="--config $cfgfile"

required_files="$cfgfile"

start_pre() {
	# note that this user is the user from $cfgfile
	checkpath -d -m750 -o greetd:greetd /run/greetd/
}

depend() {
	need localmount
	provide display-manager
}
The configuration file referenced above (/etc/greetd/tty1.toml) also needs to
be created. The following will log in automatically on boot:
[terminal]
vt = 1
switch = false

[default_session]
command = "agreety --cmd '$SHELL --login'"
user = "greetd"

[initial_session]
user = "hugo"
command = "$SHELL --login"
Note that only the initial session automatically logs me in. When that session
ends, agreety will prompt for a username and password. This ensures that the
system remains locked if the compositor crashes while locked.
Finally, enable the above service:
rc-update add greetd.tty default
As of the next boot, the system will prompt for the passphrase to unlock the disk and then log into the user session without the need for any further interaction.
Tweaking Firefox
Opening new tabs
Double clicking on the tab bar doesn’t open new tabs for some reason (it simply
does nothing). It works on my previous computer, but not on this new device. It
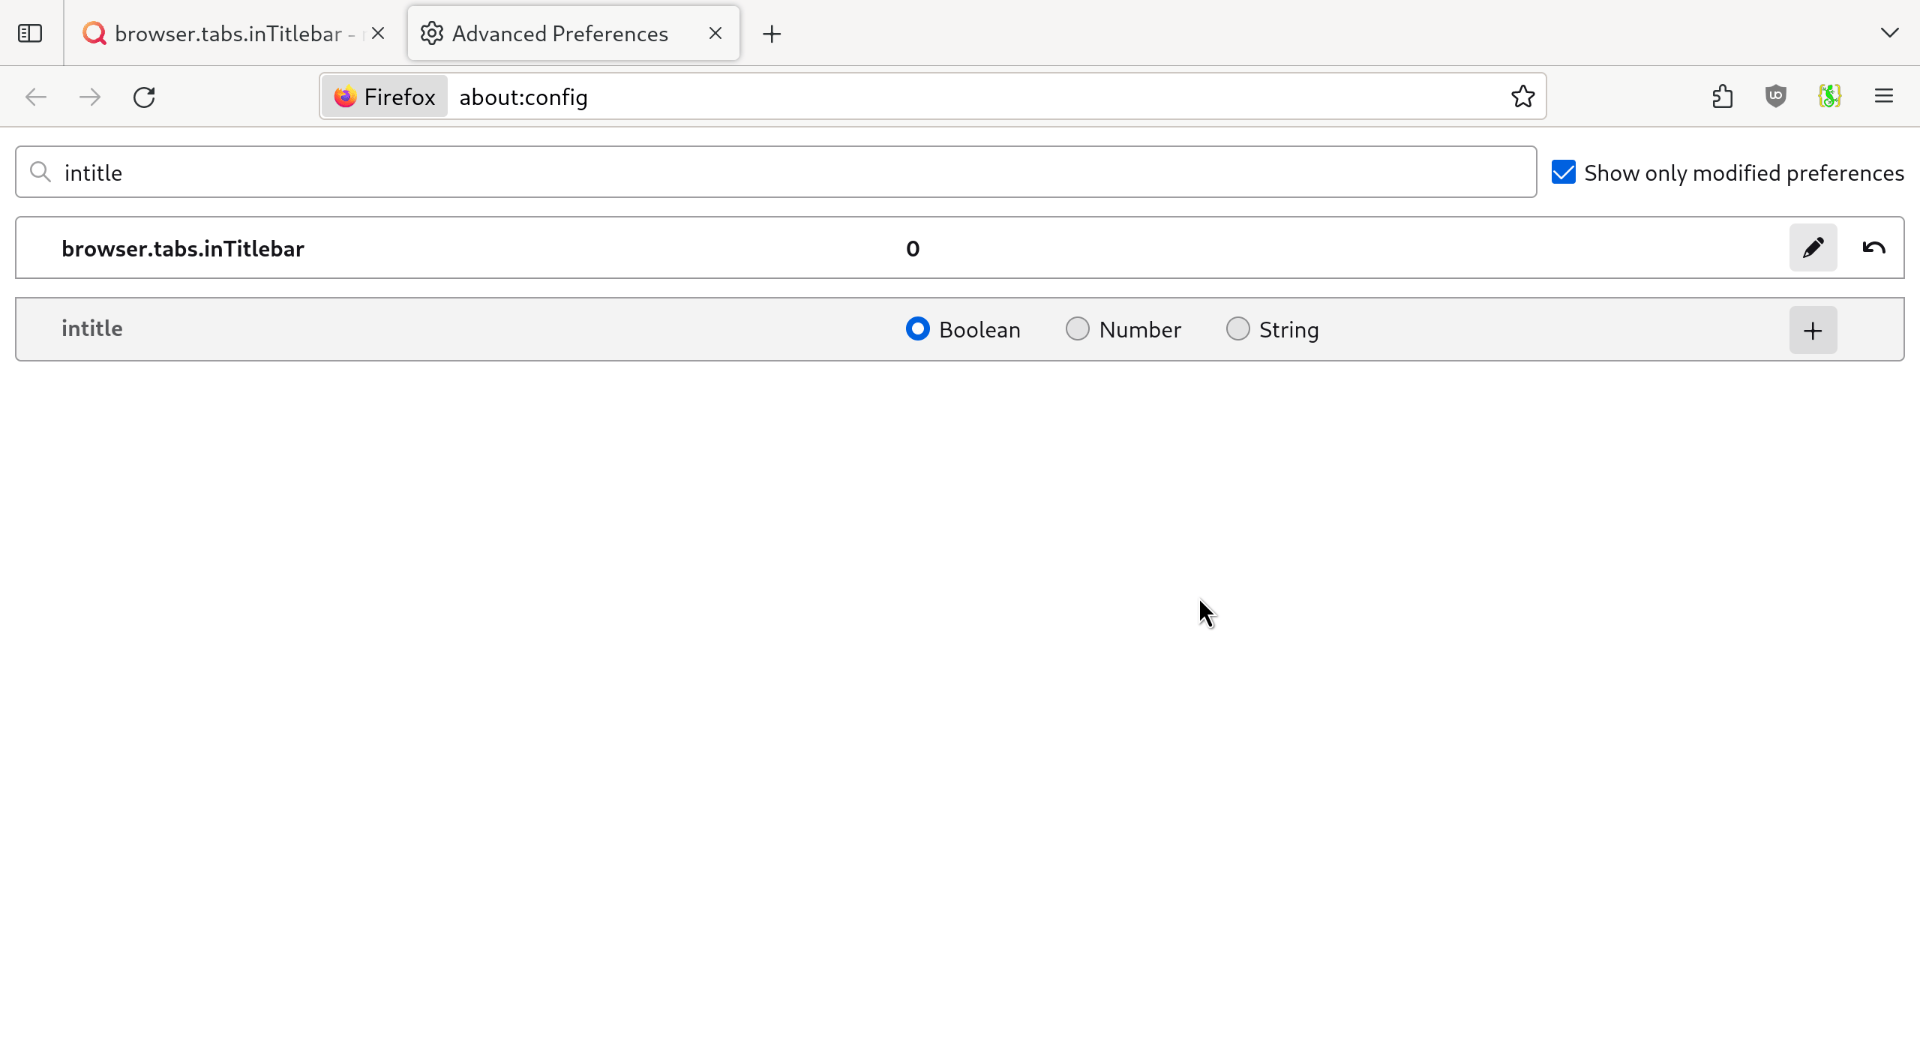
seems that the setting browser.tabs.inTitlebar affects this behaviour.
Here’s a screenshot of Firefox with browser.tabs.inTitlebar=2 (the default).
Changing this to 1 has no affect (as far as I can tell).

Changing the setting to 0 enables the behaviour that I want: double clicking
on the tab bar opens a new tab. It also changes the colour scheme of the tab
bar and hides the “close” button.
I searched online for more details about this setting but found little information. Apparently this setting affected how the tab bar was rendered when it was first moved to the top of the window (I think this was like a decade ago). I suspect that its impact on the behaviour of double-clicking is due to historial/legacy reasons of how Firefox evolved.
I am not sure if mapping double click to no-op with the new default was intentional or a bug; I will report this upstream when I have the time.
Adding bookmarks with tags
When adding a page as a bookmark in Firefox, it doesn’t show the input field for tags. The fix for this is to add a bookmark without tags, open the Bookmarks Organizer (ctrl+shift+o) and add a tag to an existing bookmark. The tags field is now shown when adding new bookmarks.
Chronyd blocks at startup
chronyd takes care of keeping the system clock in sync. When the system
boots, chronyd will block start-up until it has resolved the time. This is
useful on systems without a hardware clock (to avoid the system booting as
1970-01-01), but annoying for this setup.
This behaviour can be disabled by editing /etc/conf.d/chronyd and setting
FAST_STARTUP=yes.
Setting up an apk cache
When configured to use a cache directory, apk will keep local copies of
downloaded packages. This will prevent re-downloading any packages which are
uninstalled and later re-installed. This often happens when building packages
from source.
To set up an apk cache, simply run:
doas setup-apkcache
The default value is fine for this kind of setup.
Disable the hostname service
I include the system hostname in the kernel command line. The hostname
service sets the hostname from /etc/hostname. The latter is unnecessary, so
can be disabled:
rc-update del hostname boot
This has little functional impact, and is merely a clean-up.
Pending tasks
- Firefox profile
- Configure credentials for
offlineimapandvdirsyncer
The device is technically used, but it is “new” in the sense that I have recently acquired it. ↩︎
This makes sense on servers which might require network to finalise their start-up sequence, especially those that rely on
chronydrunning at boot. ↩︎I would really love to figure out an uncomplicated setup that would allow me to just use mDNS for this. I have some projects ideas in mind here, but not for anytime soon. ↩︎
I must emphasise that this is only a poor approach on interactive systems. On a headless system it makes perfect sense to run an administrator-defined script in reaction to the hardware power button being pressed. ↩︎